Copying a backup to a directory
You can copy job results to a directory and use them for disaster recovery of devices. Proceed as follows:
- In the Project tree, select a component from which you want to copy a backup.
- Click on the Jobs tab. This is located in Component details.
- In the field Job results, right-click on the backup and select from the list Copy backup to directory.
- In the section Copy backup to directory, enter a Target directory and then click on Next.
- You now have the following options:
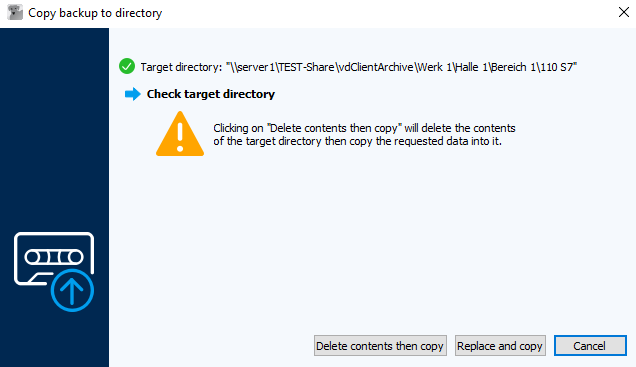
Image: Copy backup to directory dialog - Delete the content, then copy: If there is a file in the folder, this file will be deleted first. All files from the backup will then be copied.
- Replace and copy: If there are files in the target directory with the same name as in the backup, these will be replaced. The files that are not yet available in the target directory will then be copied.
- To stop this process, click on Cancel.
 The functions Delete contents, then copy and Replace and copy act differently depending on the device. For more information about these functions regarding your device type, see the respective documentation for each device type under Device support.
- When you check the checkbox Show target directory in file manager in the dialog Successfully copied, the copied files will be displayed in the specified directory. Click on Close.
- The job results are now located in the specified target directory and can be used, for example, for a recovery.