Module script management
The script management module is used to configure and manage client and server scripts. This section covers the basic functions of Script management.
Managing and configuring scripts
Proceed as follows:
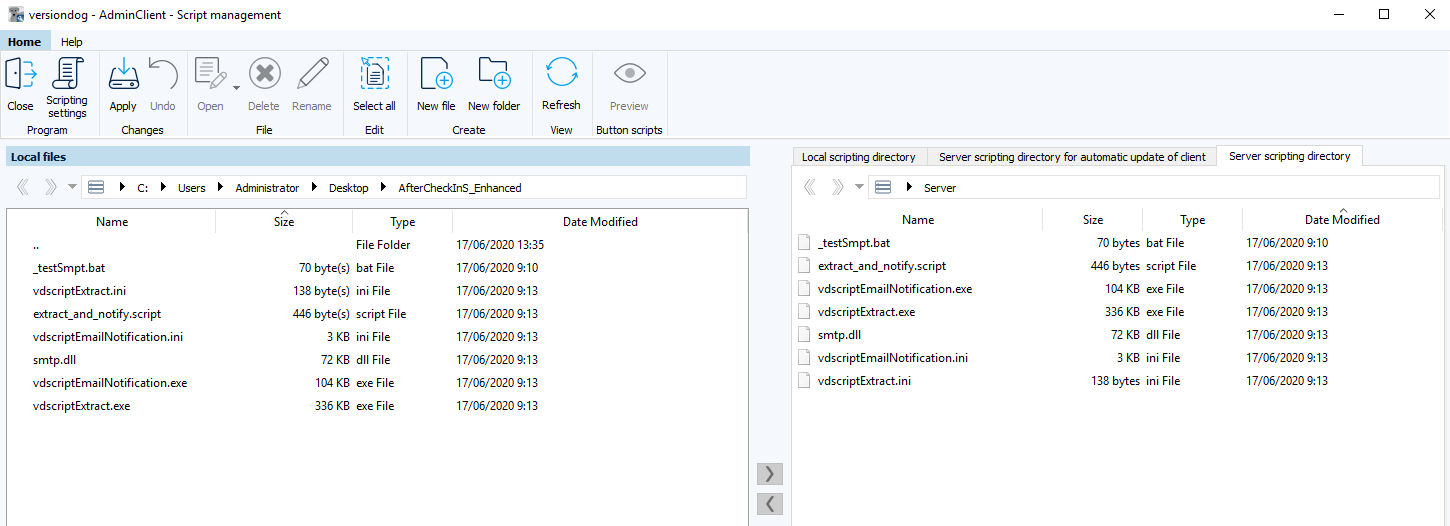
- Start the AdminClient and open the Script management module.
- In Local files, go to the directory where the script files are saved. In the ribbon toolbar, you will find all applications necessary for configuring and creating the script event.
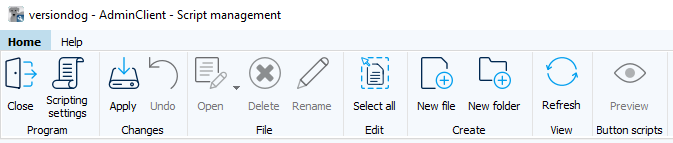
- Use the button Script settings to select which script functions should be activated. This setting can also be found under global settings in the AdminClient.
- Use the buttons Select all, New file and New folder edit and create new folders and files in the Local files section.
- Click on the Update button to refresh the view.
- The Preview button will become active when you want to create and activate Script buttons. To do this, you will need to copy a ScriptButton1.bat file or ScriptButton1.exe file to the tab Server scripting directory for automatic update of client. For more information, see configuring script buttons in AdminClient.
- Using the arrow symbol
 , copy the configured script files from local files into the server scripting directory, Server scripting directory for automatic update of client or local scripting directory as required. By using the arrow symbol
  , you remove scripts that have already been copied from the respective tabs
 - When you have configured all script functions and copied them to the associated directories, click on Apply to activate the script functions on the server.
Edit the script files in the local files by selecting the files. This will then activate the options Open, Delete and Rename.